By Vicky Nardone
I've been working on today's page since last Monday but it took me a while to get it all together with the chaos in my house this week due to the film shoot. I got this idea back from a big scrapbooking book I bought when I was in college and I've only used it once before. It's kind of a neat concept that allows you to have even more photos on a single page and adds an element of interactiveness for the user. The idea is to add photos to a photo wheel that then sits behind your page and the photos are viewed one at a time through a view finder. The patterns for the shapes needed are at the end of the post. Right click to save them to your desktop for printing.
The first step is to print and cut out the 8 inch wheel template. Trace it onto a piece of paper. I recommend using cardstock for the wheel because you want it to be durable so it turns easily. Cut out the traced wheel.
Next, you want to use the hexagon shape to cut out five photos in that pattern. You have two options. If you have a program like photoshop, you can drag the pattern onto the photos in photoshop and cut around them there so they're already in the right shape when you go to print them. That's what I did. Otherwise, you can print the photos out (make sure they're at least 3inx3in) and trace the pattern around them after they're printed and cut it out. Place them around the photo wheel. It's ok if they overlap. I also used my provo craft paper shapers scissors to cut around the edges of the circle after gluing down the images to give the wheel a decorative border.

Next, you'll want to use a paper fastener (pictured below) to fix your wheel to a sheet of paper. Don't worry too much about the look of the sheet of paper that you're fastening it too. It's going to go under your page so you won't really see it. Just make sure that it's not going to show through the piece of paper you have planned for the main page. Make sure that a little bit of the edge of the wheel sticks out above the edge of the paper so you have something to grab onto for turning the wheel.


Next comes the tricky part. Place the piece of paper you want to use for your page over the top of the paper with the wheel on it (make sure they're the same size and line them up) and try to eyeball where the viewer circle should go (this is the 2.5 inch circle pattern). You'll want it to line up with where the image at the top of the wheel sits. Trace the 2.5 inch circle onto your page in that spot and cut it out. I used my razor cutter to slice a slit in the circle to get me started and then cut around the circle edges.
When you have the circle cut out, attach your top and bottom pages together using some type of adhesive. Make sure that you don't put any adhesive over the circle area. It needs to be free to turn.
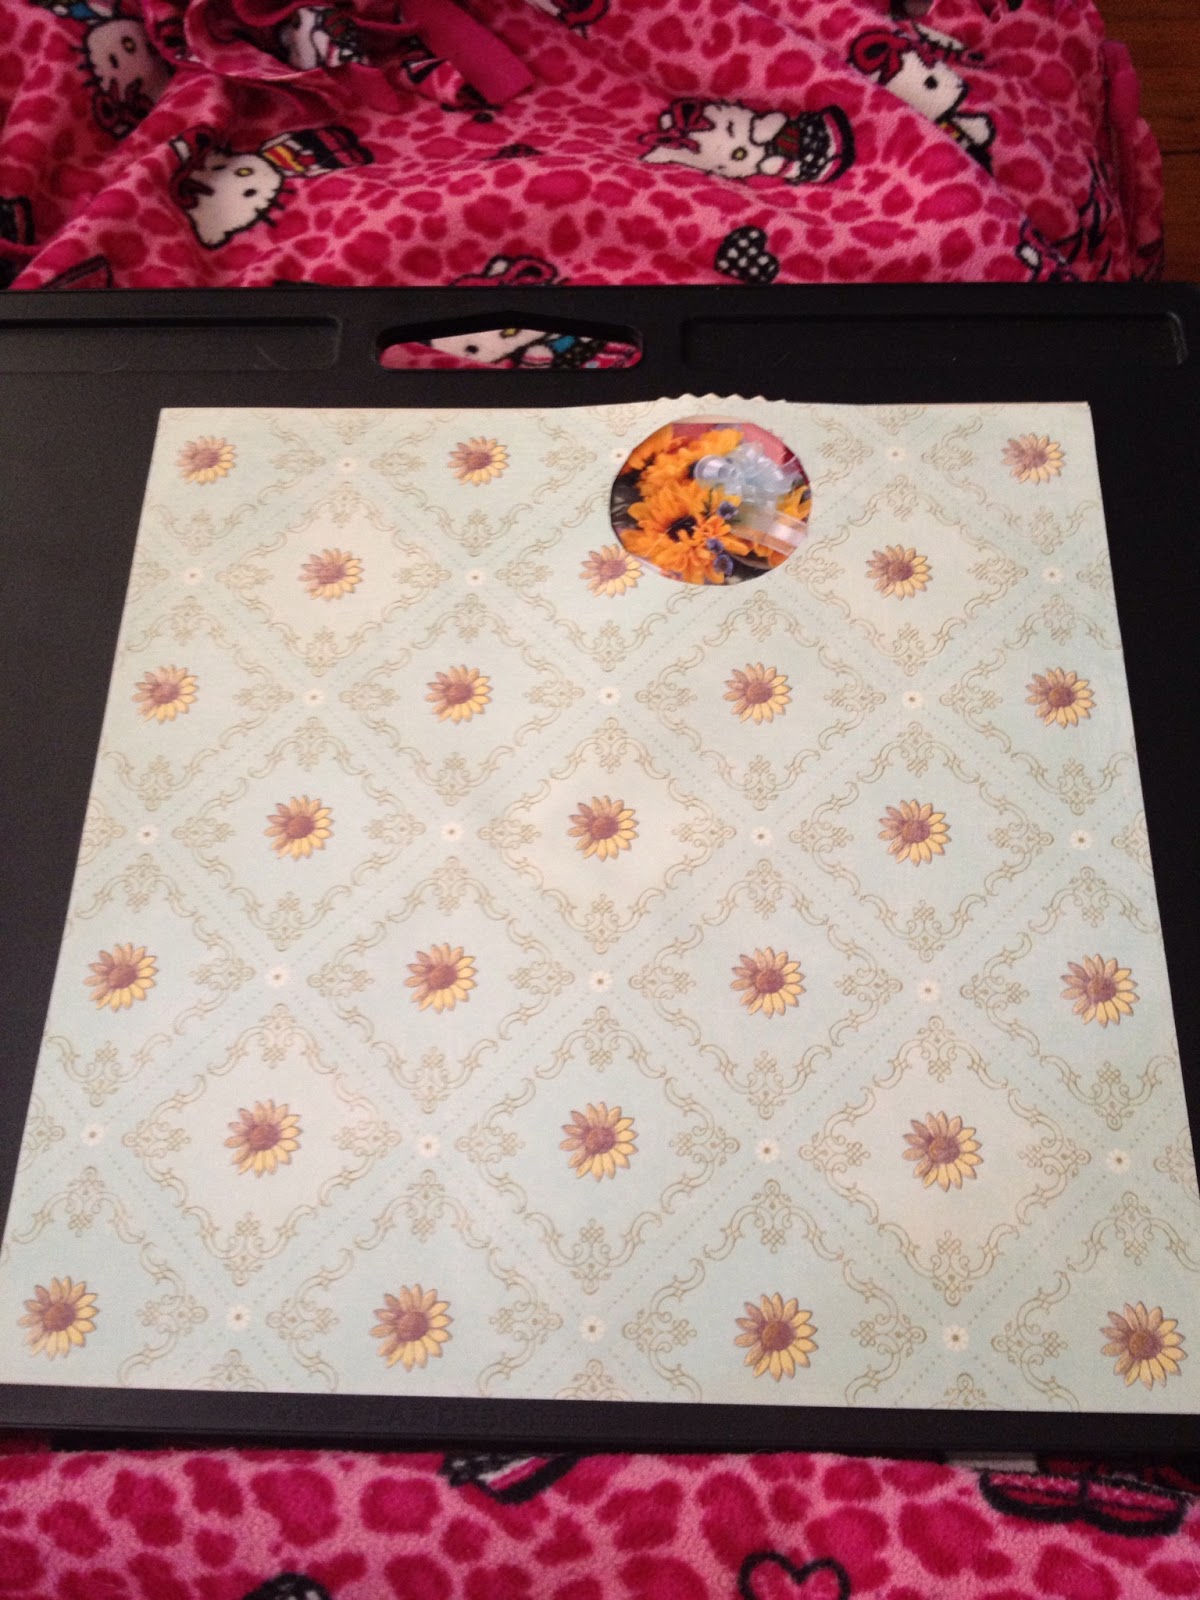
This is what my page looked like when the sheets were fastened together over the wheel.
You can then decorate the top page like you would any other scrapbook page. Here's what my completed page looked like:
I added a photo and a title and decorated the viewer with some flower petals.
Here are the patterns I used to make the photo wheel.


No comments:
Post a Comment