

This bag only requires three materials: duck tape (yes I do mean duck and not duct), scissors and a piece of fabric. Duck tape is really cool - it comes in all different types of patterns and it's about $3.50 or so a roll. I got mine from Walmart but I think that craft stores and hardware stores also carry it. I also got a cool rainbow pattern that I have to find a use for. I'm thinking that I might try to buy a pair of shoes and decorate them with duck tape for a friend of ours who recently moved away as a nice surprise mail gift.
One of the other things I like about this project is that you can make the purse as big or as small as you want to. There is no set size in the instructions. The purse is as big or as small as the piece of fabric you decide to use for it.
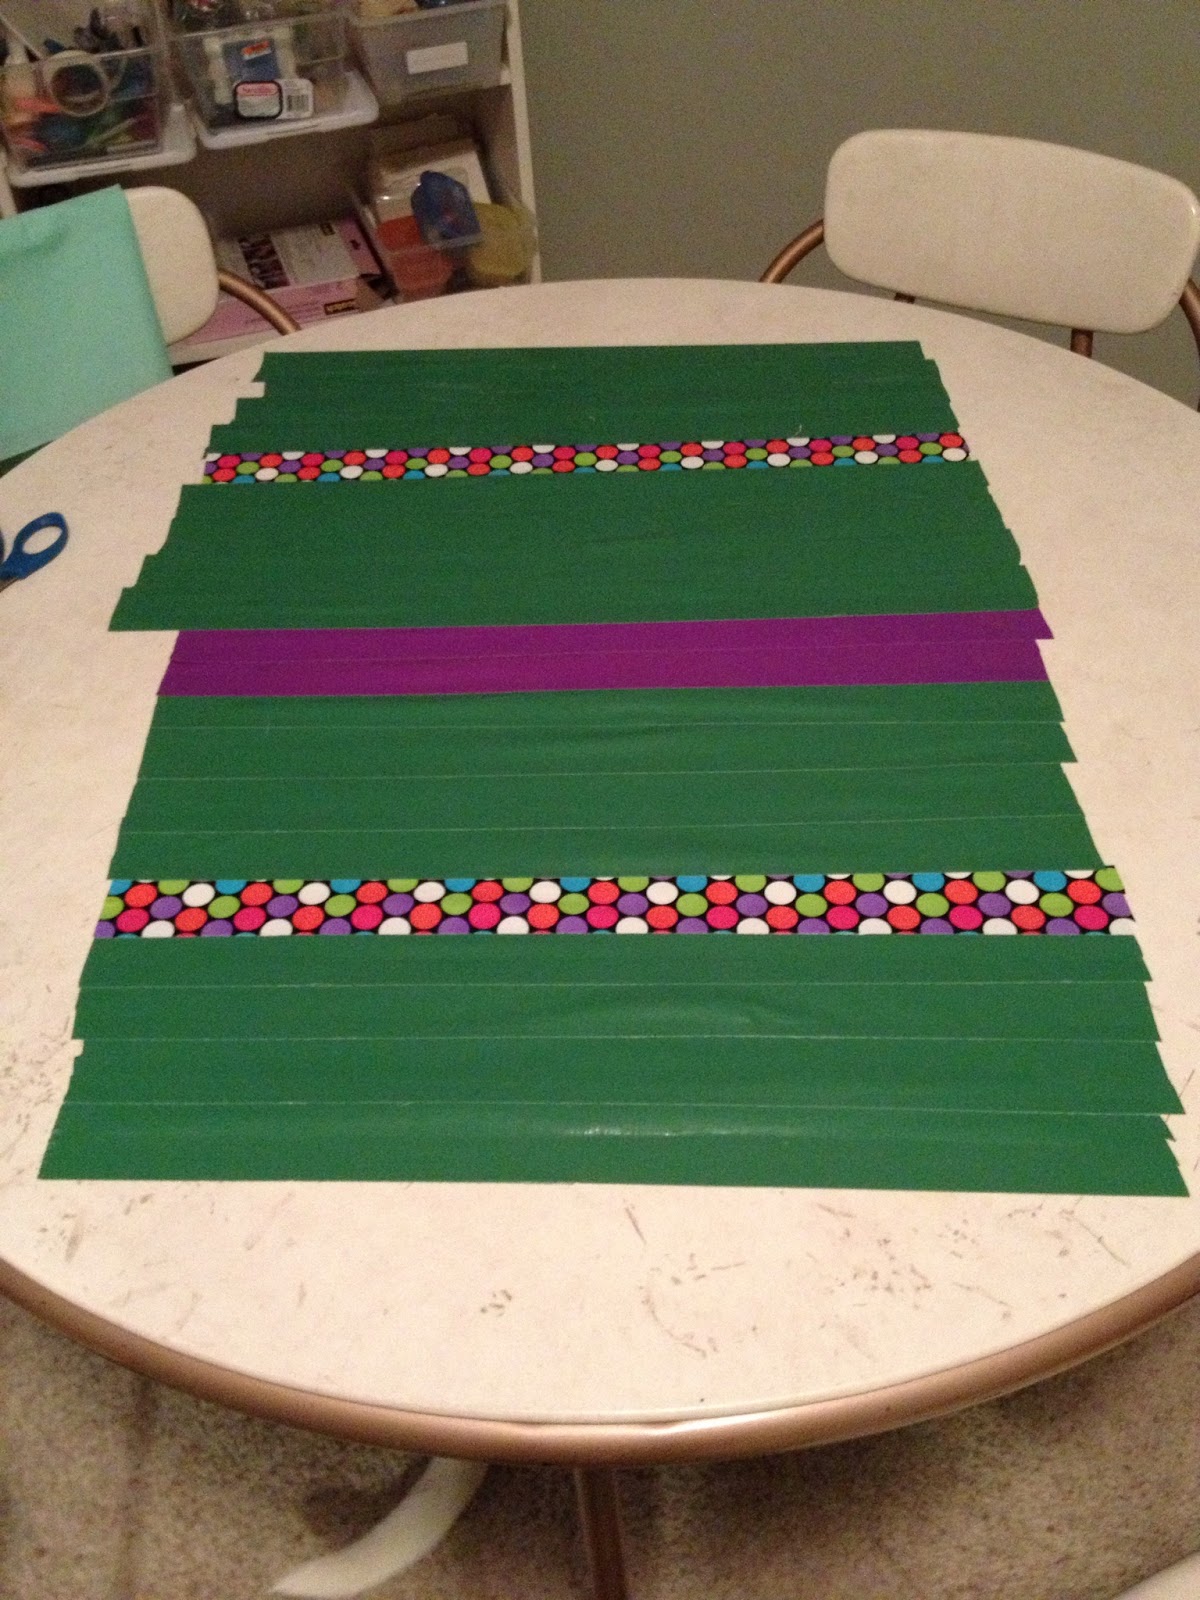
Start by cutting your piece of fabric down to the size you want your purse to be. You will be folding the piece in half once you have your tape on it so it will really turn out to be about half the size of the piece of fabric you cut. Lay it down face down on the table.

Start taping your fabric down to the table in the pattern that you want to appear on your purse. I decided to do horizontal stripes but you could also do diagonal or vertical if you prefer. Make sure the tape strips overlap each other and the table. Don't worry if the tape strips don't all end in the same spot.
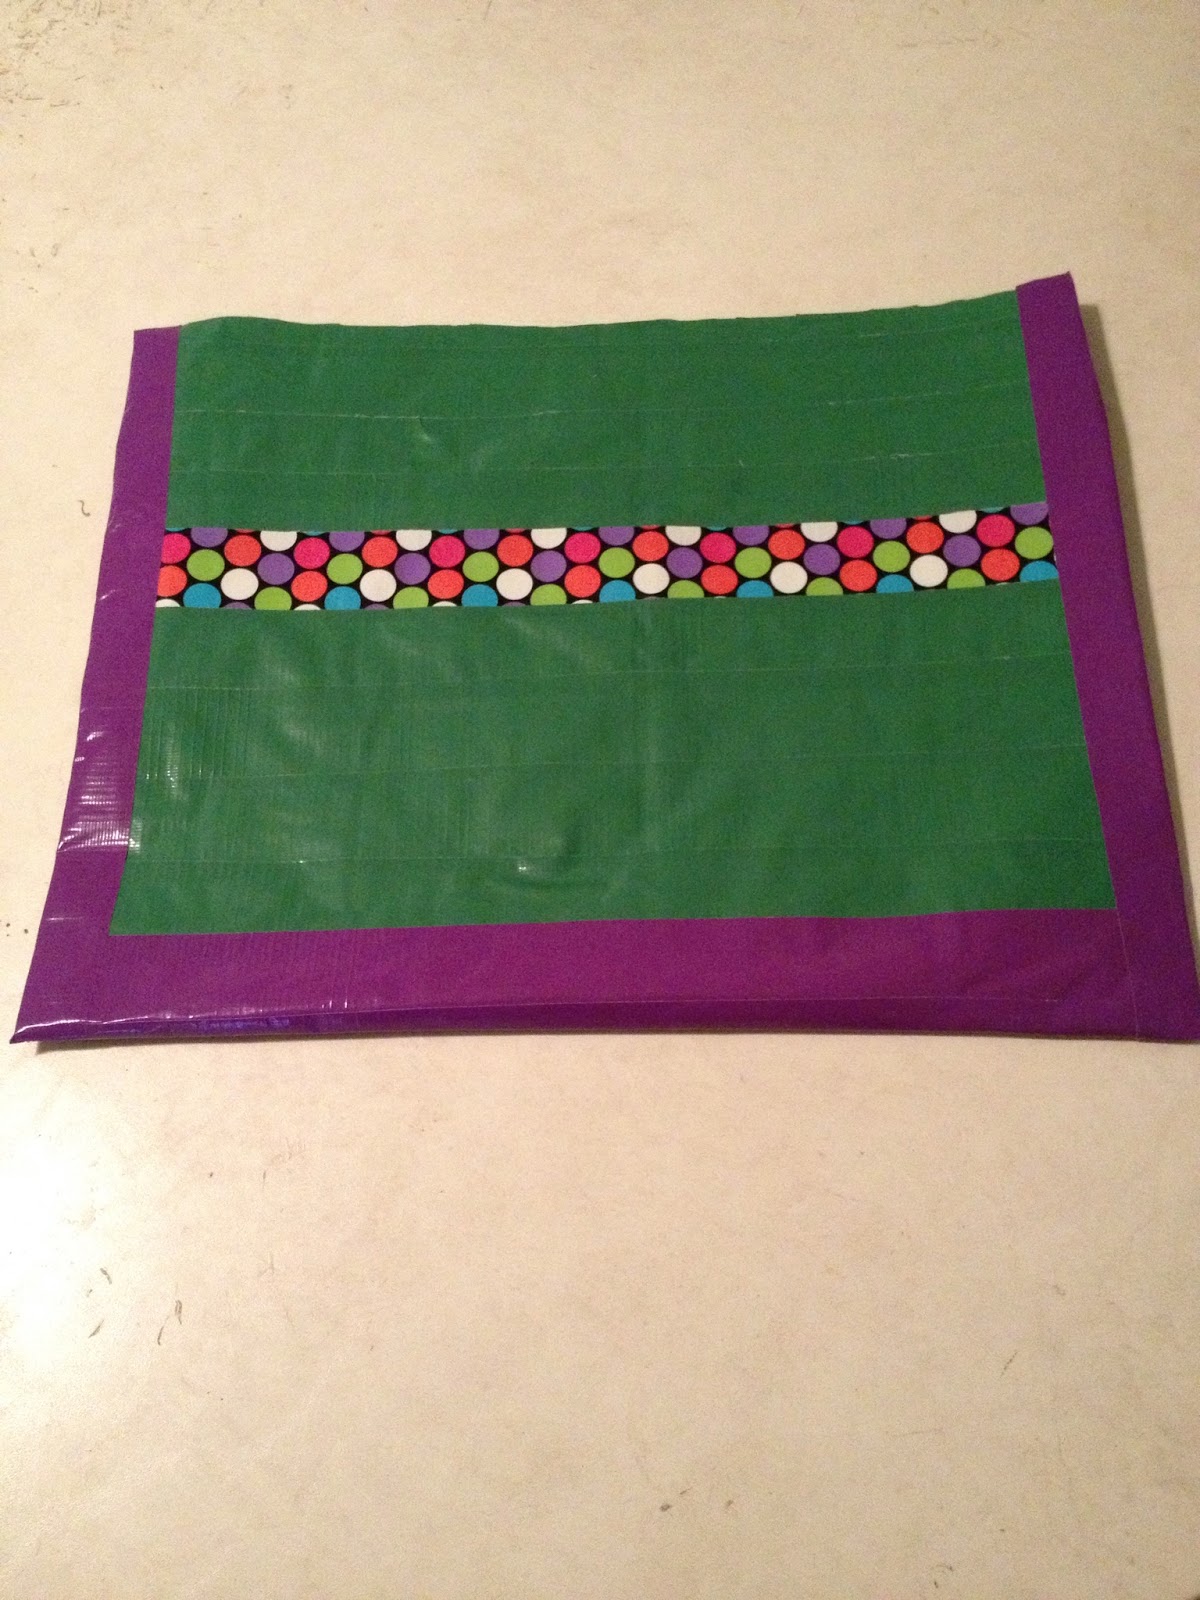
Peel the tape off the table and flip the whole thing over.


No comments:
Post a Comment